
If you’re interested in the world of electronics and programming, the Arduino is a great open-source platform that allows you to build interactive electronic systems. But where should you start? This article will give you a comprehensive introduction to the basics of Arduino programming and use, so you can get started yourself.
What is an Arduino?
Arduino is an open source electronics platform that allows users to build interactive electronic systems. It was designed for beginners to ease their entry into the world of electronics and programming. An Arduino board consists of a microcontroller, a set of digital and analog-to-digital inputs/outputs, and an integrated development environment. The platform supports a variety of programming languages, including C++, and allows users to build and control their own devices, such as lights, alarms, toys and more.

What you need:
To do a lot of first experiences and tests with the Arduino I recommend three things.
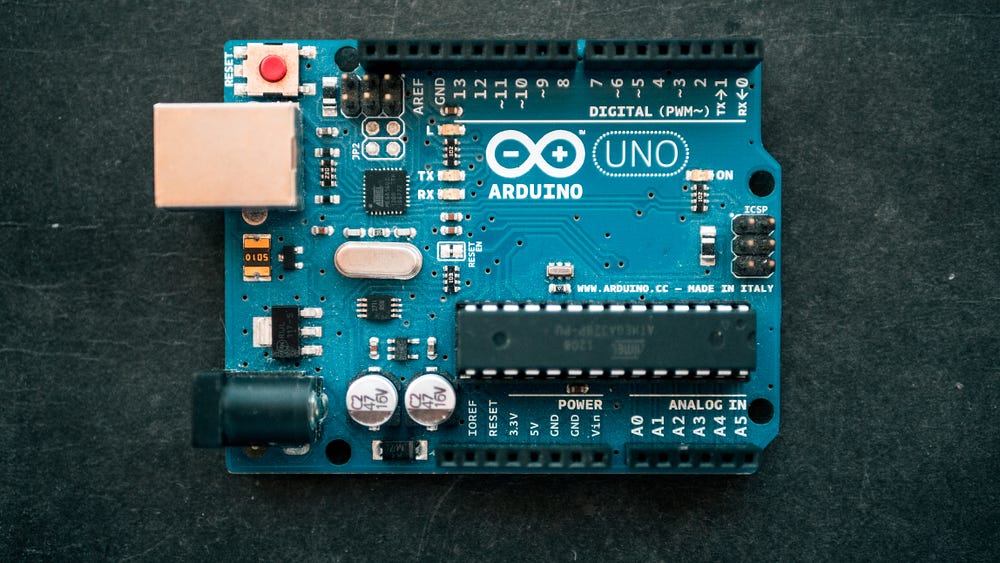
1. Arduino Uno
2. Starter Kit with sensors, LEDs and other components
3. Jumper cable
Arduino Software
To be able to program an Arduino, you need the Arduino Console. This can be downloaded for free from the official website. Software | Arduino
After you have installed it, you will see the user interface. I will go into the individual functions in the following.

The Arduino programs are called “Sketches” and consist of two essential functions: “setup()” and “loop()”. The “setup()” function is executed once at the beginning of the program and is used to initialize the pins and the configuration. Thereby it is defined in the script, for example, at which pin an LED is plugged in.
The “loop()” function is executed repeatedly and contains the main code for your Arduino project. This can be, for example, switching the LED on and off continuously.
Arduino components and circuits
For Arduino projects, you will need various electronic components such as LEDs, buttons, sensors, etc. Here are some of the most common components you can use:
- LEDs (Light Emitting Diodes): LEDs are small lights that come in a variety of colors. They can be used to provide visual feedback or simply as lighting elements in your project.
- Pushbuttons: Pushbuttons allow you to capture input from users. They can be used as switches or to control actions in your project.
- Sensors: There are a variety of sensors that you can use with Arduino, such as light sensors, temperature sensors, humidity sensors, etc. These sensors allow your Arduino to sense and respond to information from its environment.
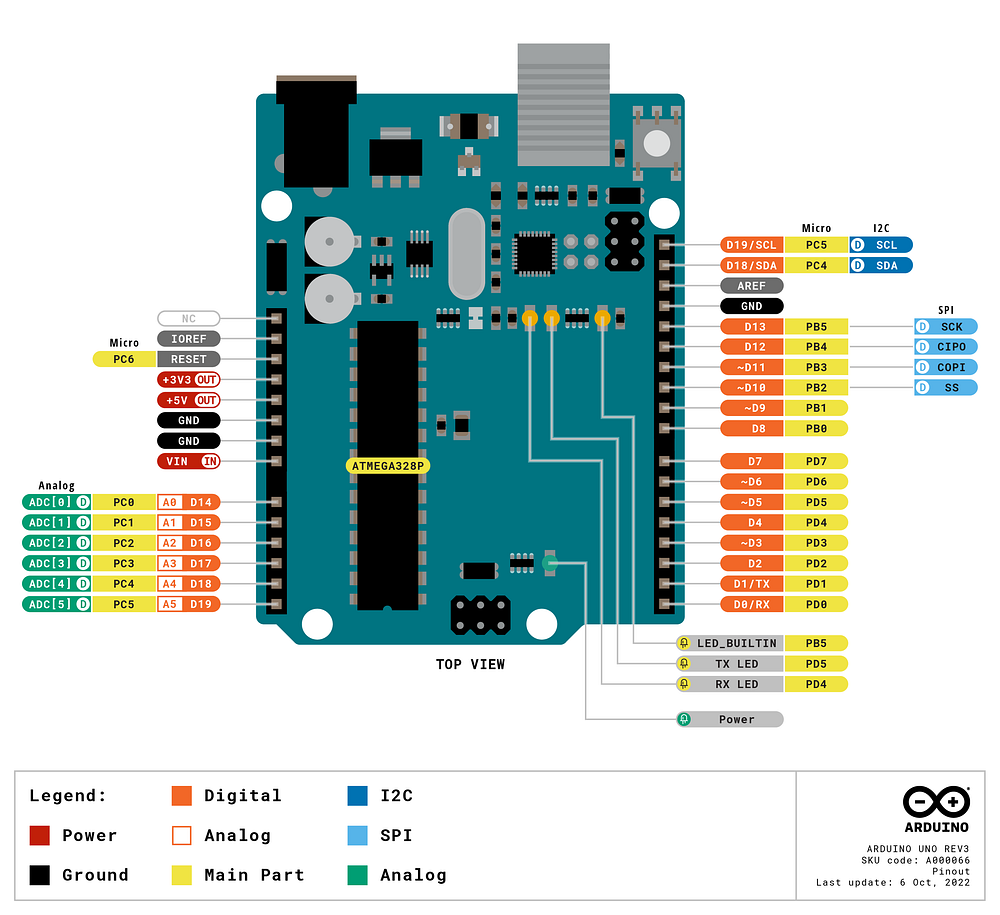
To connect these components to the Arduino board, they need to be connected to the correct pin of the Arduino using a cable. Below is an overview picture of the pins of an Arduino.
With the information from this first part of an introduction to programming and using an Arduino, we will perform a first classic practical example with a blinking LED in the next part.
If you have any questions, feel free to contact me. If you like my work, feel free to check out my other articles on similar topics.
Schreibe einen Kommentar