
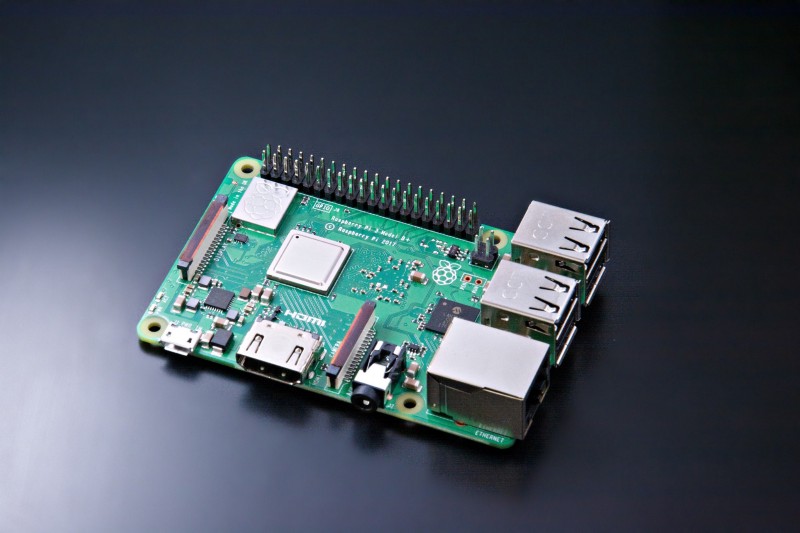
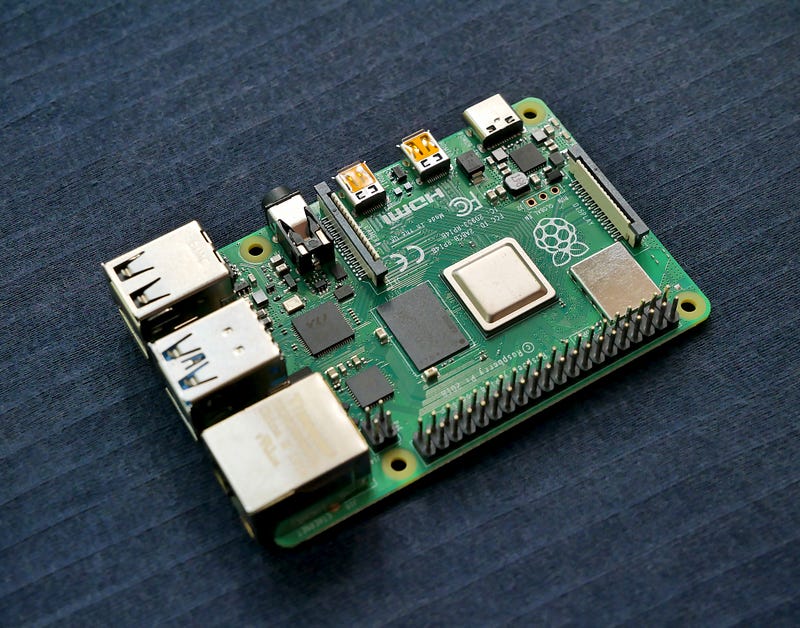
A Raspberry Pi is a microcomputer that is easy to program and can be used like a normal computer. For example, programs can be installed or web surfing can be done. Although the newer models like the Raspberry Pi 4 already have the relatively high computing power and RAM and can therefore even be used as a desktop Computer with Office or similar, the advantages of a Raspberry Pi are often in their projects for continuous use (E.g. NAS server) or as an interface for sensors that are connected directly to the GPIOs of the Raspberry Pi.
What is needed?
- Raspberry Pi (4 or 3B+ are recommended)
- Micro SC Card (at least 16GB)
- Power supply (Raspberry Pi 4 = USB C, Raspberry Pi 3B+ = MicroUSB
Installation of the operating system
Since the Raspberry Pi is shipped without a Micro SD card or an operating system, this has to be taken care of first.
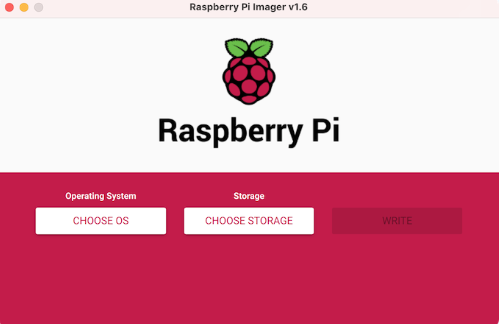
The most common operating system is the Linux-based operating system Raspbian. To do this, you can download the Raspberry Pi Imager from the official Raspberry Pi website.
After doing this and starting the Raspberry Pi Imager, the following application should appear and you can connect the Micro SD card to the computer.
Selecting Choose OS will immediately show the current and recommended Raspberry Pi OS. If desired, you can also select Raspberry Pi OS (other) and choose the Lite or Fill version, depending on the function of the Raspberry Pi and whether a desktop environment is necessary (not given in Lite), or more programs should be preinstalled (Full version).
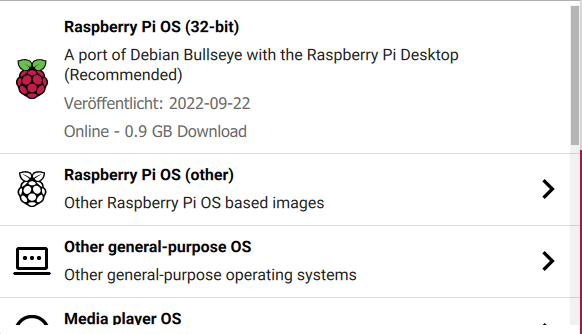
We now use the recommended Raspberry Pi OS (32-bit) here, select the SD card and install the program.
First start of the Raspberry Pi
After writing the OS to the Micro SD card, you can insert it into the Raspberry Pi for the first time and connect it to power.
For the first start, I recommend connecting the Raspberry Pi via HDMI to a monitor and via USB to a mouse and keyboard. It is also possible to complete the setup remotely via SSH, but this will not be explained in this article.
After the Raspberry Pi has been booted, a user environment is created in which the first setup is done. Data such as the country is requested to be able to retrieve the correct time. A password is created and you can connect directly to the Wifi. At the first start, this should also be done directly, so that you can download a software update in the next step, which will probably be necessary.
At the end of the initial setup, a message will appear that a reboot is required. This should also be done to apply all settings.
Setting up remote access via SSH
To be able to program and control the Raspberry Pi with your computer as well, remote access should be set up. The easiest way to do this is an SSH connection.
To do this, SSH must first be enabled on the Raspberry Pi. This can be done via the console by entering the following command.
sudo raspi-configNow a window opens with different configuration options. Use the arrow keys to navigate to item 5 “Interfacing Options” and confirm with Enter. Afterward, you can navigate to point 2 “SSH”, select it with Enter and confirm the question if the service should be activated with Yes.
Now that SSH is activated the Raspberry Pi has to be rebooted with the command
Sudo rebootto reboot the Raspberry Pi.
With Windows, the SSH connection can now be established via Powershell. To do this enter the command
ssh username@IpaddressoftheRaspberrypiand confirm the connection with the password of the Raspberry Pi.
For the username, the given username is, if not changed before this “pi” and the password is “raspberrypi”. I recommend, if not already done, changing at least the password to have some security so that remote access is not abused.
The IP address can be found on the Raspberry Pi in the console with the command
ifconfigAfter entering the password, the SSH key must be confirmed by typing “yes” for the first connection. After that, you are successfully connected to the Raspberry Pi and can control it remotely.
Recommendation for Windows users: Remote Desktop Session
Especially for beginners, working on a Raspberry Pi via SSH only is very tedious. For Windows users, there is a simple method, similar to Teamviewer, to use the entire desktop environment of the Raspberry Pi from your computer.
All you have to do is install the package “xrdp” with the following command:
sudo apt-get install xrdpAfter that, you can search for the Remote Desktop Session application on Windows and open it.
On Computer the IP address of the Raspberry Pi should be inserted.
If you now connect to the IP address, you only have to enter the access data and the entire Desktop environment is displayed as if you were working directly on the Raspberry Pi.
If you like my work, feel free to check out my other articles on similar topics.
Schreibe einen Kommentar