
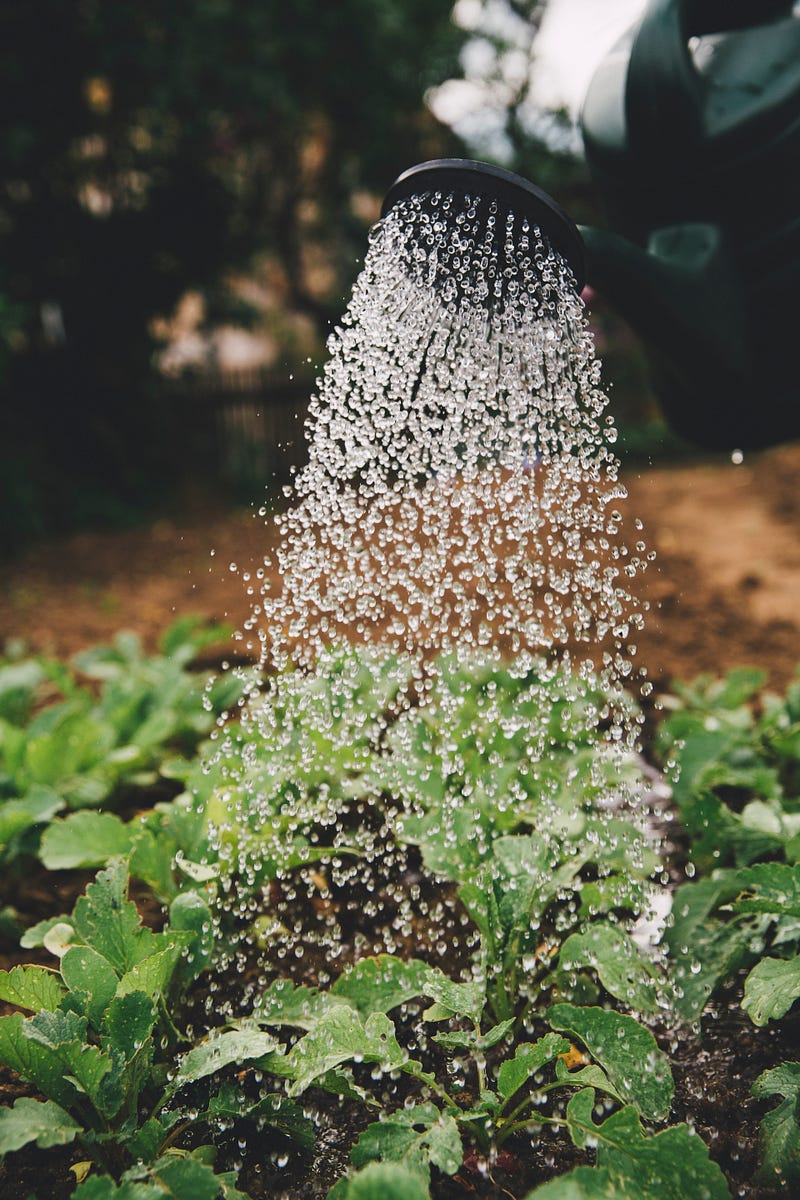
Plants need water to grow healthy and strong. But it can be difficult to determine the right amount of water, especially if you’re busy and don’t always have time to water your plants. A fully automatic watering system can be the solution here. In this tutorial, I’ll show you how to build a fully automatic watering system for your plants using an Arduino, a capacitive soil moisture sensor, a relay, and a water pump.
What you need
Before you can start building your fully automatic irrigation system, you will need the following materials:
- Arduino
- Capacitive soil moisture sensor
- Relay
- Water pump 5V
- 9V battery
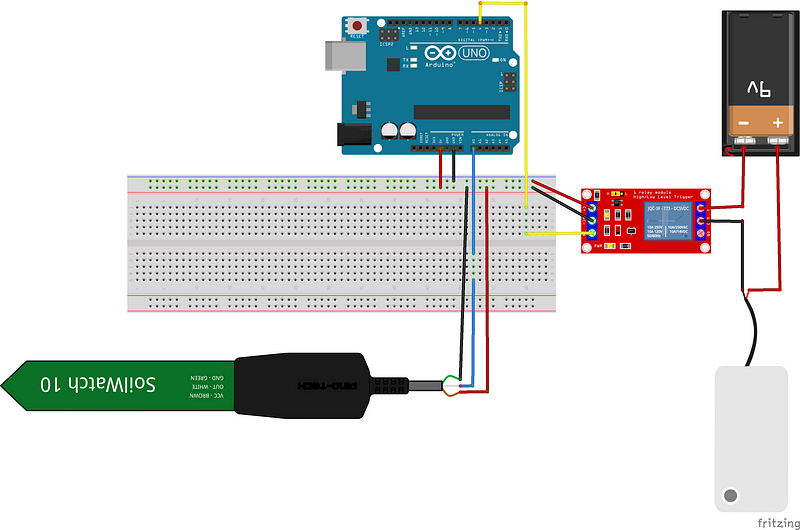
Step 1: Assembling the electronics
Connect the capacitive soil moisture sensor to the Arduino and the relay. Connect the water pump to the relay. The connections are as follows:
Step 2: Programming
Program the Arduino to read the soil moisture sensor and turn on the water pump when the soil moisture falls below a certain threshold.
int sensorPin = A0; // Analog input pin of the soil moisture sensor.
int relayPin = 4; // Output pin of the relay
int sensorValue = 0; // Variable for storing the read sensor value
int dryValue = 500; // Threshold value for dry soil; adjust here

void setup() {
  pinMode(relayPin, OUTPUT); // define relay pin as output
  digitalWrite(relayPin, HIGH); // switch relay off
  Serial.begin(9600); // Start serial connection
}

void loop() {
  sensorValue = analogRead(sensorPin); // Read sensor value
  Serial.print("Soil Moisture: ");
  Serial.println(sensorValue); // output sensor value
if (sensorValue < dryValue) { // If soil is too dry
    digitalWrite(relayPin, LOW); // switch on relay
    Serial.println("Pump ON"); // Output: pump on
    delay(10000); // wait 10 seconds
  } else {
    digitalWrite(relayPin, HIGH); // switch off relay
    Serial.println("Pump OFF"); // Output: Pump off
  }
  delay(1000); // wait 1 second
}
Step 3: Testing
Test your circuit and make sure everything is working correctly. Connect the circuit to a power source and place the soil moisture sensor in a pot of soil. When the soil moisture drops below the threshold you set, the water pump should start automatically.
Step 4: Installation
Mount the circuit in your greenhouse and connect it to a water source. Make sure the capacitive soil moisture sensor is placed near the roots of your plants. You can place the circuit in an enclosure to protect it from moisture.
Step 5: Enjoy your fully automatic watering system
Now you don’t have to worry about watering your plants. Your plants will always get the right amount of water and can grow healthy. You can also expand the circuit by adding more sensors to measure the temperature or humidity and adjust the watering accordingly. This in the following article.
Have fun building your fully automatic irrigation for plants with Arduino!
If you have any questions, feel free to contact me. If you like my work, feel free to check out my other articles on similar topics.
Schreibe einen Kommentar