

Want to set up your own NAS server and access it from outside the network? With a Raspberry Pi, this is no problem. In this article, I will show you how to set up a NAS server with a Raspberry Pi and access it from outside the network.
Only two components are needed:
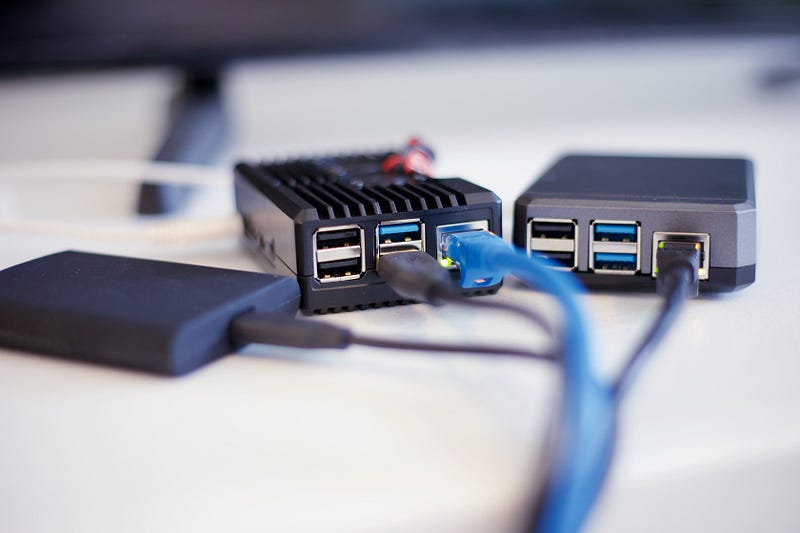
- Raspberry Pi (3b+ or 4)
- external hard drive (preferably SSD)
Step 1: Prepare Raspberry Pi
Before you can start setting up the NAS server, you first need to prepare your Raspberry Pi. This includes installing the operating system on the Raspberry Pi. We recommend the Raspbian operating system, which you can download from the official Raspberry Pi website. After you have flashed the operating system to an SD card, you can set up the Raspberry Pi and connect it to the Internet.
Step 2: Install NAS software
After the Raspberry Pi is set up, you must install the necessary software to use it as a NAS server. A good choice is an open-source system like Samba. With Samba, you can easily set up shares on the Raspberry Pi and access them from other computers on the network. You can install Samba using the command :
sudo apt-get install samba
Step 3: Set up hard disk shares
After Samba is installed, you need to set up the shares to access your external hard drive. For this, you have to edit the configuration file of Samba. You can do this in the command line with the command
sudo nano /etc/samba/smb.conf
In the configuration file you have to make the appropriate entries to set up your shares:
- Scroll to the end of the file and add the following lines:
[share]
path = /path/to/your/folder (path of your external hard disk)
valid users = pi
read only = no
- Press Ctrl + X, type “Y” and press Enter to save the changes and close the file.
- Then save the file and restart Samba with the command
sudo service smbd restart
Step 4: Access from outside the network
In order to access your NAS server from outside the network, you now need to set up port forwarding on your router. To do this, go to the web interface of your router and set up port forwarding for TCP port 445. Enter the IP address of your Raspberry Pi. How this forwarding works is different for each router, but if you can’t find it directly, you can easily google it.
Step 5: Access via the Internet
Now you can access your NAS server from any computer in the world using your router’s public IP address and port 445. Note, however, that a public IP address is not always stable and can change. To avoid this, I recommend using a dynamic DNS service. This allows you to associate a custom hostname with your current public IP address. This way, you can access your NAS server from anywhere in the world simply by using the custom hostname.
Step 6: Create user accounts (!!!Important!!!)
You should now create a user account so that not everyone can access your NAS server. You can use the command
sudo smbpasswd -a <username> // username = your own username
to add a new user. When doing so, enter the username you want and set a password.
That’s it. With these steps, you have successfully set up a NAS server with a Raspberry Pi and can access it from anywhere in the world. You can now access your data from anywhere and easily share it with friends and family. Have fun setting up and using your new NAS server!
If you like my work, feel free to check out my other articles on similar topics.
Schreibe einen Kommentar