
A few photos of any object, a few mouse clicks and the finished 3D model is ready to print a replica.
Autodesk Recap Photo is a tool that makes it possible to create detailed 3D models from photos you have taken yourself. This technology is based on processing photographs taken with a normal camera to create a three-dimensional model of a specific environment or object.
In my example, a wooden figurine of two elephants, one of which has its trunk broken off. In order to reproduce this trunk as accurately as possible, I first created a 3D model of the figures using Autodesk recap photo and then modeled the trunk on this model. In the picture you can see the result, which you can do yourself in a few steps.
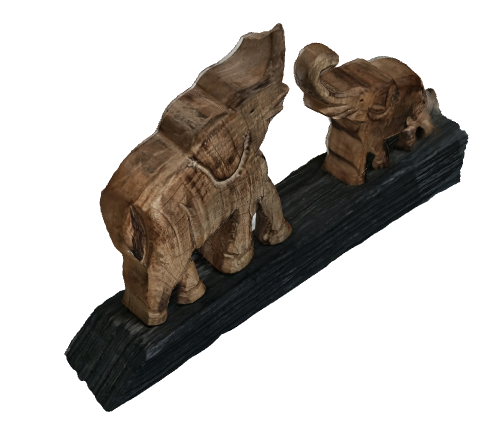
Below are the few steps to create a perfect 3D copy within a few minutes.
Step 1: Take the photos
- Select the object you want to scan and place it on a flat surface.
- Take photos of the object from different angles and distances to allow for good depth perception.
- Make sure the object is well lit to avoid shadows and to get a good texture quality
Step 2: Import the photos into Autodesk Recap Photo
- Launch Autodesk Recap Photo and select the “New Project” option.
- Import the captured photos into the program by clicking on “Add Images” and selecting the photos from the computer.
Step 3: Create the 3D model
- Click on “Process” to process the photos. Autodesk Recap Photo will analyze the images and automatically create a 3D model of the object.
- There are several settings and options that can be used to improve the accuracy and quality of the model. e.g. the number of images processed, the accuracy of the texture.
Step 4: Editing the 3D model
- After the 3D model is created, you can edit it directly by clicking on “Edit”.
- Use the different tools to remove or add certain areas of the model, improve the texture quality or increase the accuracy of the model by manual adjustments.
Step 5: Export the 3D model
- When you are satisfied with the editing of the 3D model, you can export it using “Export”.
- Choose the desired format and location for the exported model. Autodesk Recap Photo supports different formats such as .fbx, .obj, .dwg or .stl.
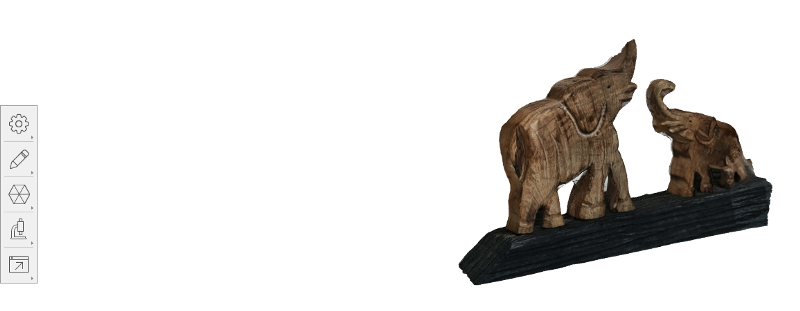
All editing tools including export are displayed on the left side and are intuitive to use.
After you have exported the 3d model, you can further edit it in programs like Fusion 360 or print it directly. Your detailed copy is now ready.
If you have any questions, feel free to contact me. If you like my work, feel free to check out my other articles on similar topics.
Schreibe einen Kommentar