
On the Internet, you can find many variants of the popular Word Clock.
When I first inquired about a Word Clock on the Internet, I was shocked.
The first clocks displayed through Google Shopping have a price of over 2,000 dollars. Even after further browsing on various websites, the finished clocks are sold for over 300 dollars, which was still out of the question for me.
In the following article, I will present my own designed watch, which with some own effort and a 3D-Printer costs under 40 dollars. In order not to distort the costs, tools such as a soldering iron, solder, and especially the 3D-Printer were not included, as these simply must be present for the project. The Word Clock is in German, but can easily be changed to an English Word Clock.
Required tools:
- 3D-Printer
- Soldering Iron
Materials needed:
- Approx. 500 grams of filament (free choice of color, only white is in any case necessary).
- LED Strip WS2812B (74 LEDs / M)
- NODEMCU ESP8266 Controller
- optional: Glass pane (172 x 172 mm)
- 2 screws
- Cables
The Word Clock presented here is a completely custom-designed version of Fusion 360. The software is a somewhat adapted version of the program created and published by SPS&Technik. SPS&Technik has also created a manual for a Word Clock, but this is for a version that requires more ordered parts and cannot be printed. If you want to view the version from SPS& Technik, you can access Dropbox via this link.
3D-Printing
All STL files are accessible via this Dropbox link.
First, all STL files should be printed in the desired color. It is recommended to choose a slightly slower printing speed, especially for the word plate, to achieve the best possible quality for the letters.
After the components have been printed and the glass plate is also available, you can start to assemble the system for the first time and test whether all dimensions fit together after printing.

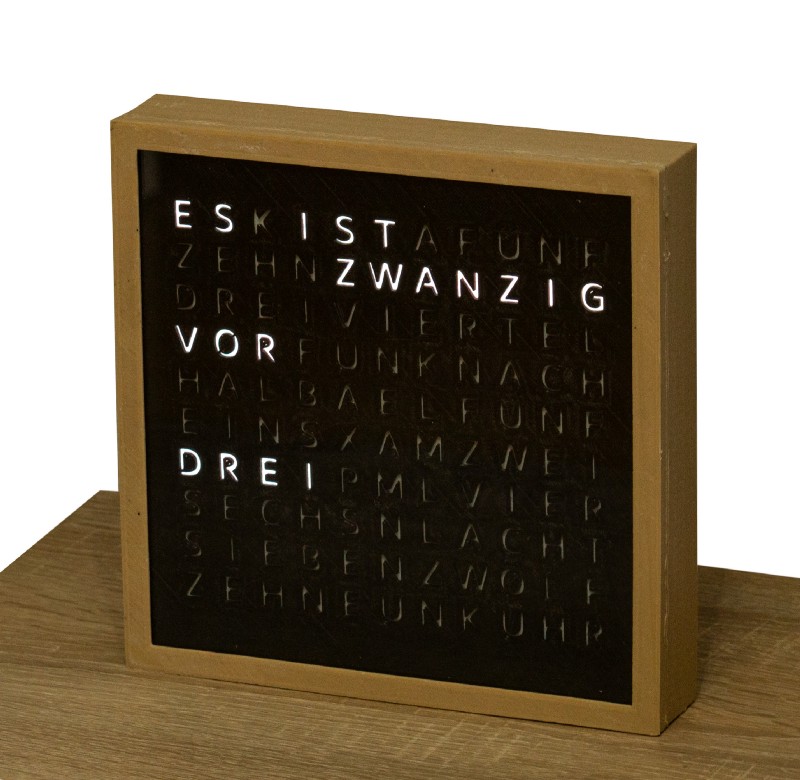
As shown in the picture, the glass pane is inserted into the housing first, whereby it must be inserted at a slight angle from below. After that, the word plate with the white plate follows, for scattering the LED light. Behind it, a grid is placed, which separates the individual letters and represents the areas of the individual LED. Finally follows the actual plate on which the LED strips are placed and a rear cover for the word clock.
Electronics
When all parts fit together, you can start with the electronics.
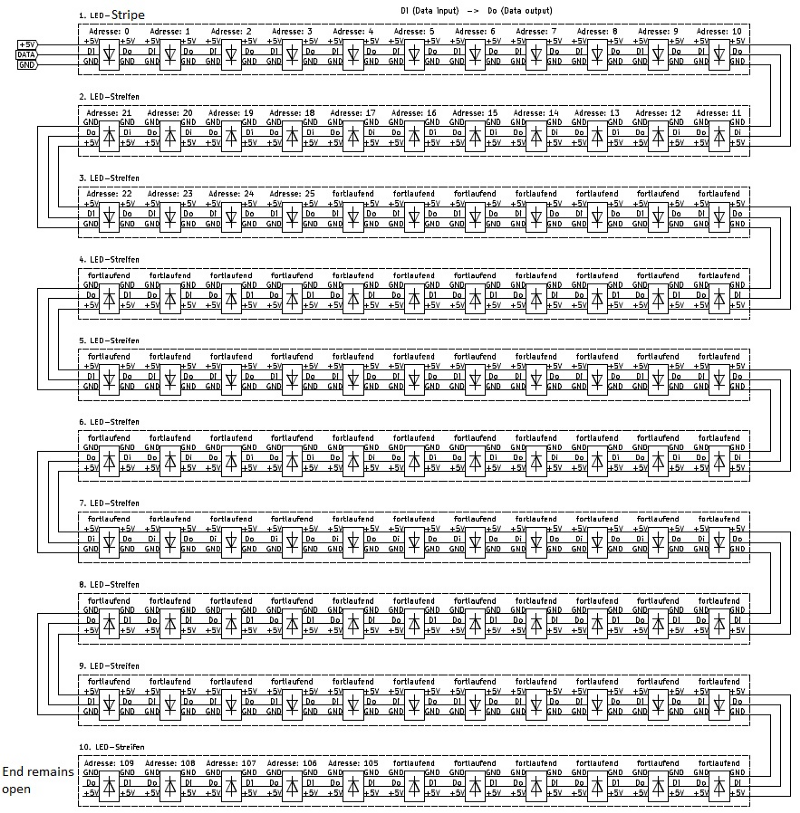
Cut 10 strips with 11 LEDs each. These are then connected with narrow cables, as shown in the schematic. It is important to note the direction of the LED strips! These are marked with an arrow on the strip.
To simplify the process, I measured the approximate dimensions of the cables beforehand and cut and stripped the cables in the 3 different lengths.
The final result should look like the picture. At the first LED strip, I soldered a cable with a connector, so that later the ESP8266 can be easily disconnected from the clock. This way you don’t have to transport the whole clock for software updates, but you can take the ESP8266 out of the clock one by one.
The 3 cables are connected to the following pins on the ESP8266:
- GND -> GND
- 5V -> VCC
- DATA -> D6
Software
Now that all parts of the clock are ready, the LED can be tested for the first time.
How to use the Arduino software and how to play a script on the ESP8266 I assume here once, there are many reports and videos on the Internet to read.
In the Dropbox of SPS&Technik, there is a folder called “ESP8266 Program”. In this folder, there is a ZIP file, which must be unpacked and the contained software must be transferred to the ESP8266.
After this is done, the Word Clock should start as soon as it is connected to the power,
After going through the LED function test, a web server will be established by the clock when it is started for the first time. After connecting to the local Wifi of the Word Clock, it can be accessed via the link (“www.wordclock.local„).
On the website, you can add the desired Wifi network with a password to connect the clock to retrieve the time.
In addition, functions such as a night function can be set so that during a specified time period (e.g. between 10 pm and 6 am) the LED is turned off. This allows the clock to be used in the bedroom without disturbing during sleep.
Assembling the clock
When all parts are printed and the electronics are working, the word clock can finally be assembled and operated completely for the first time.
If you like my work, feel free to check out my other articles on similar topics.
Schreibe einen Kommentar