
After you have decided on the method of 3D printing, which I describe in my article “Difference between FDM and SLA 3D Printer — Which One is Right for You?”, you think about other features that are important for 3D-Printers.
Beginners in particular naturally tend to buy a ready-assembled printer directly. Whether this makes sense, especially for beginners, can be read in my article “Don’t Buy a Ready-to-Print 3D Printer — Buy a DIY Set First!”.
In this article, I go more into the functions of the printer, not the assembly.
Size of the print area:
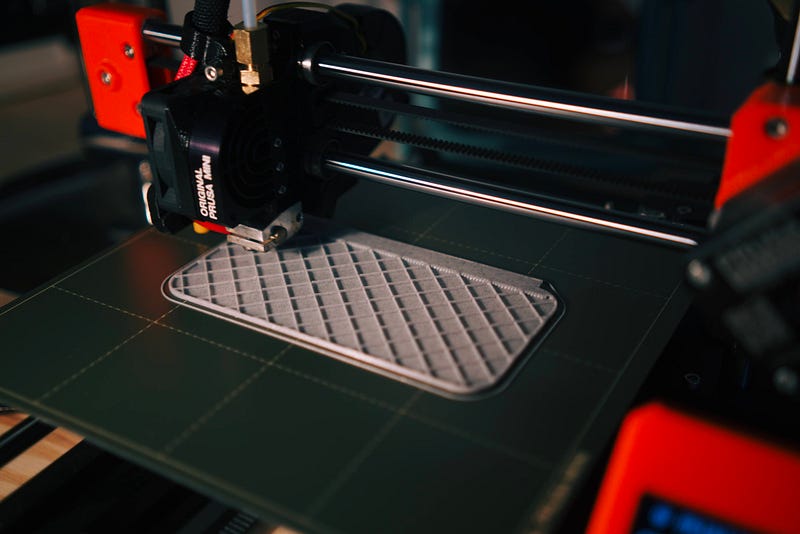
Probably the most considered feature of a printer when purchasing is the size of the print area. When faced with a choice as a beginner, printers usually all look the same and have different sizes. Then the question is how big does the print area need to be and how much money is a larger print area worth to me? First of all, it is natural to choose a printer with the same features and price for a larger print area. However, you often pay several hundred euros more just to get a 5 cm larger print area.
Common for many FDM printers is a print area of 200mm x 200mm, but I recommend from experience at least 220mm x 220mm, as these have become affordable in price and 2 cm can make a big difference in some models.
Anything from a print area larger than 220mm is usually much more expensive and for 90% of printed objects, this is not necessary. Also, with 3D printing, there is usually anyway to design so that they can be printed individually and put together at the end. This is of course due to the application area and only covers my experience, where very large objects rarely need to be printed.
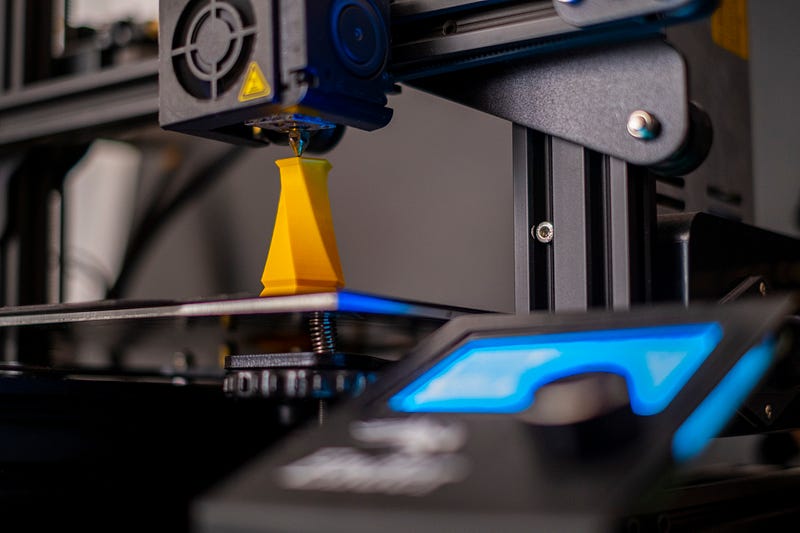
Printing speed
Even though I recommend everyone not to decide according to the printing speed when choosing a 3D printer, here are a few words about it. Especially beginners are very impatient during the first printing attempts and hope that a perfect model is printed in a few minutes. Therefore, it is understandable that many beginners pay attention to the printing speed when buying.
After a few prints, however, you will realize you have to get used to the fact that no matter what print speed, a 3D print is never fast. In addition, the information from manufacturers is very theoretical values, which says that the printer can theoretically print so fast…That this leads to a respectable result with good print quality, however, is rare. With any slightly larger model, printing will take several hours and you will quickly start to reduce the printing speed by yourself so that the print quality improves.
In fact, it quickly becomes apparent that whether a print takes 5 hours or 6 hours doesn’t matter in the end.
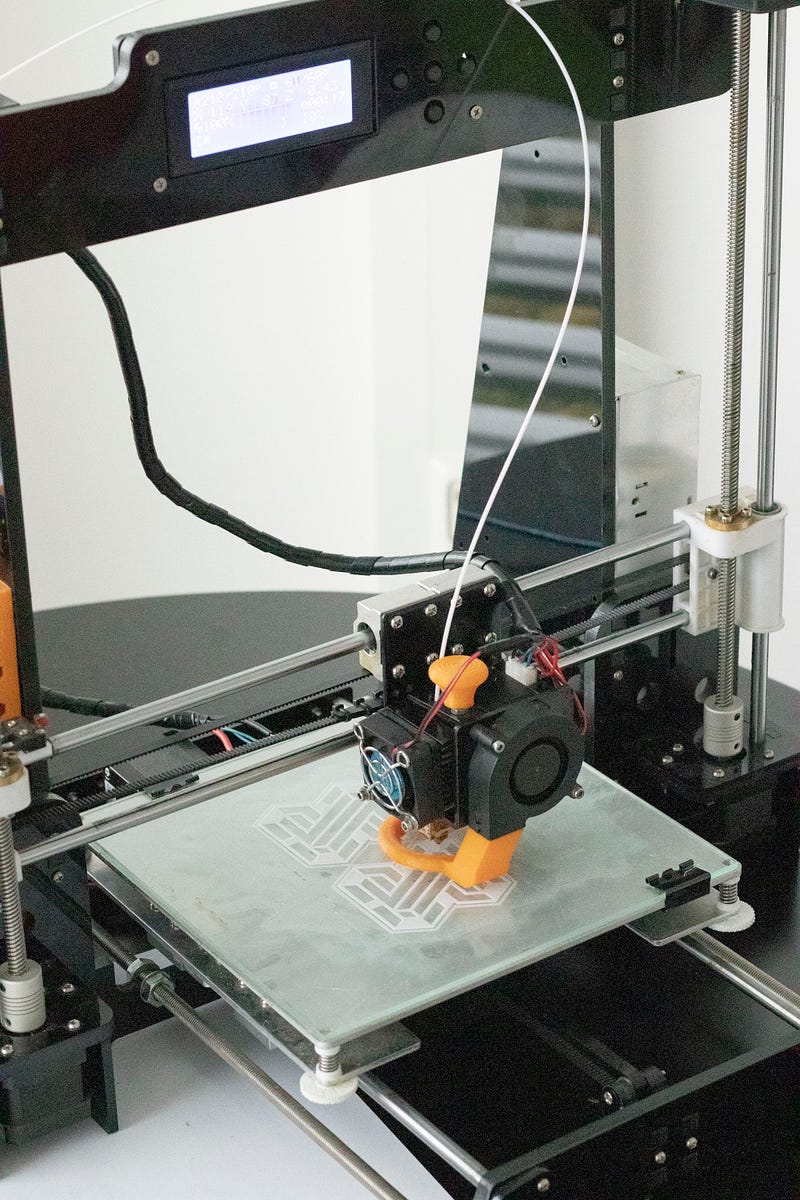
Heatbed
This point can be easily answered from my experience. I recommend every beginner buy a 3D printer with a heating bed. A heating bed will prevent loosening or warping from the model and the printing plate. If you only use the PLA filament, this may also be possible without a heating bed, but especially as a beginner you may also want to try out other filaments that may be firmer (ABS) or softer (TPU). In addition, the pressure adhesion is also better when using PLA, which can prevent many failed attempts at the beginning.
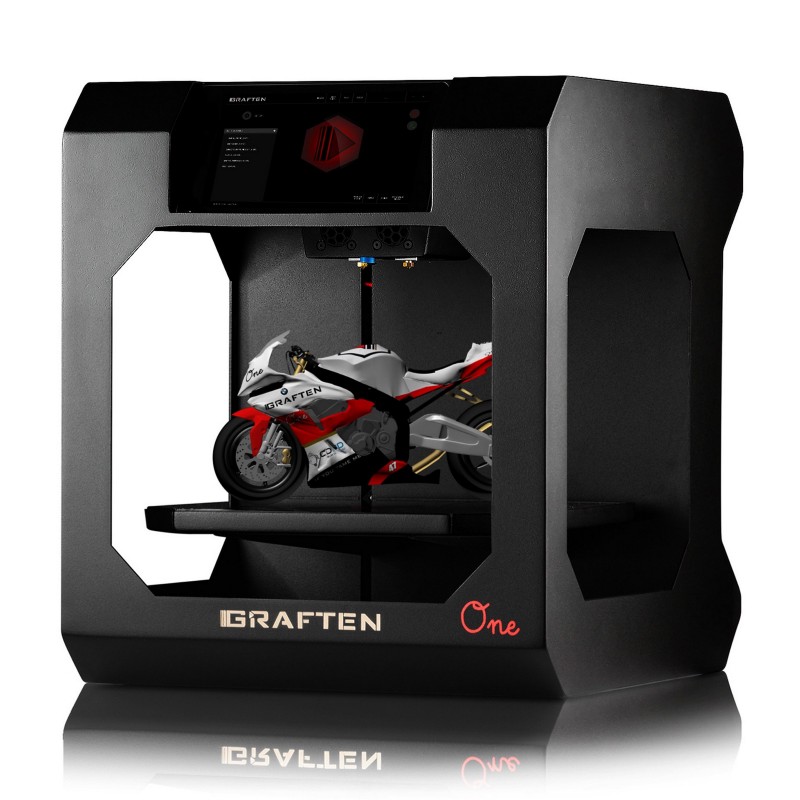
Operating (Touchscreen)
To make it as easy as possible for beginners, many 3D printers have a touchscreen for operation. While this is not required and my first printer did not have a touchscreen either, it does make it easier to get started. However, it’s important to note that this doesn’t change anything about the printing itself, it’s just a nice feature that you have to decide for yourself if and how much more money to pay.
In addition, I recommend anyway, regardless of whether the purchased printer has its own touchscreen for operation or not, to connect a Raspberry pi with the software Octoprint to the 3D printer to track the print in real-time via a server, for example, from a cell phone. How this works I have already described in another article.
Housing:

Many ready-to-print printers nowadays have an enclosure around the print area. This has on the one hand the purpose that a more even and better preservation of the temperature can take place and on the other hand that the noise decreases somewhat. Such an enclosure is very nice and also useful, but not absolutely necessary. It can be also built afterward fast and favorably a housing for the 3D printer. An example of such housing will follow in another article.
Costs:
I placed this last topic at the end of the list on purpose.
Of course, you can buy more print sizes and nice features with more money. However, this is often not necessary, especially to get started. Already for 200–300 Euros, you get printers that can produce a very good print quality, which should actually always be the most important thing.
A very beginner-friendly printer that is also affordable is, for example, the relatively new Creality Ender 3 Neo. If you want it to be a bit cheaper and you can do without a few features, the previous variant “Creality Ender 3” has also proven itself.
I hope I could make you better understand the differences between 3D-Printers and help you make a decision.
If you like my work, feel free to check out my other articles on similar topics.
Schreibe einen Kommentar