
In the previous series, we chose a printer, found 3D models we would like to print, and created a printable STL file using Cura.
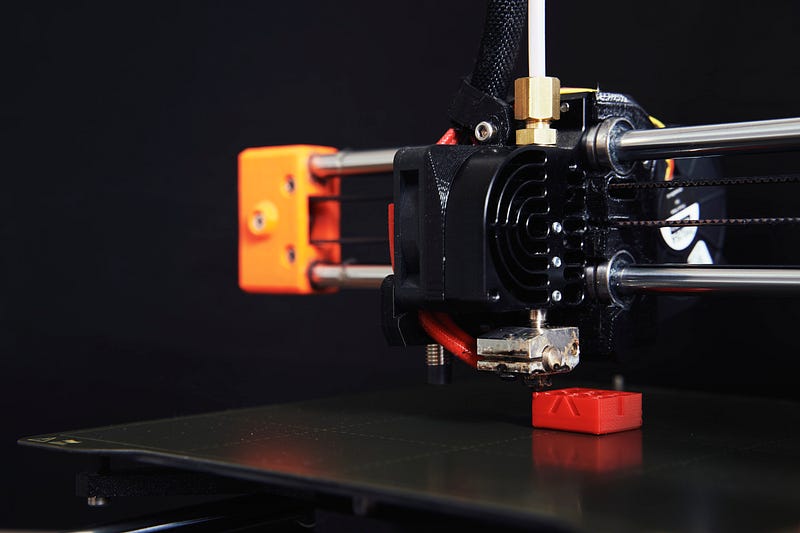
Now starts the step that we have been working towards. The printer is turned on, the STL file is made available via SD card, or online via Octoprint, and printing is started.
If everything works properly and a perfect model is printed perfectly, you have created your first 3D print. If there are complications, I hope some of them can be solved with this article.
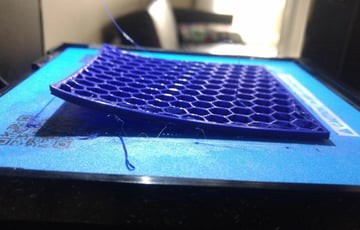
3D model detaches from print bed
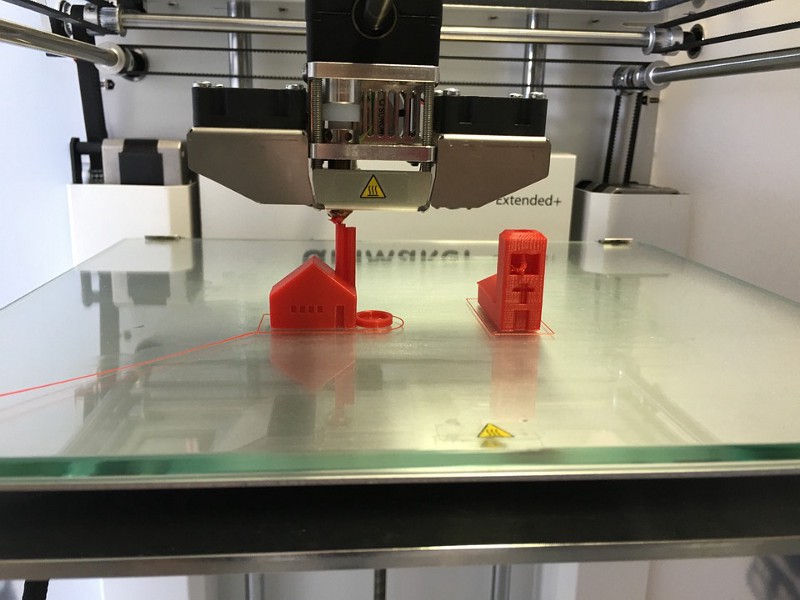
Something extremely annoying can be when the 3D model detaches from the print bed. Good adhesion is especially important because this problem doesn’t always occur only at the beginning of printing, but also sometimes after 80% of the time. When this happens, the 3D model shifts and the printer continues printing at an unanticipated location. The model is therefore no longer usable.
Temperature
There are two approaches to prevent this. First, check what temperature was set on the heating bed. In most cases, the problem can be solved with a slightly higher temperature, as this increases the adhesion to the print bed. This should be found out gradually and is an empirical value. In fact, too high a temperature can also lead to another problem, these will be listed later.
Glue Stick
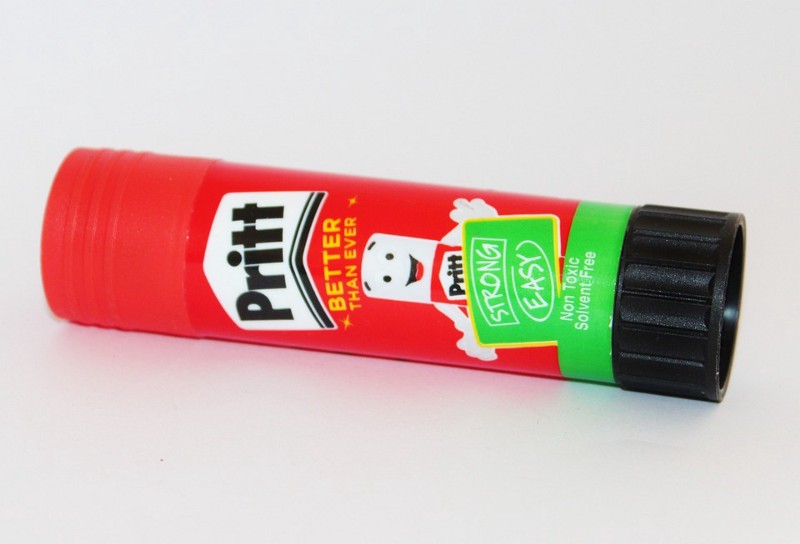
Besides a higher temperature, there is another trick that is very common and I can recommend to everyone. While the print bed is preheated to printing temperature, it can be evenly rubbed with a glue stick. After lowering the temperature again, a white layer is formed, which ensures an extremely high adhesion for the next prints. From experience, this layer holds almost permanently, as long as by removing the 3D model after printing something of the layer is torn off.
Brim
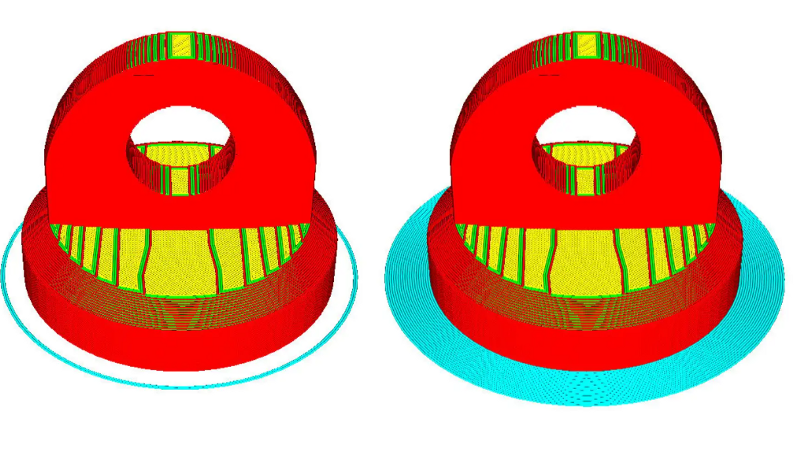
Lastly, there is another option that almost always works, but is usually my last choice. In Cura it is preset that a so-called skirt is printed before the print. The printer draws a line around the print area to ensure an even filiament at the beginning of the print. Often some filiament is missing in the nozzle at the beginning, because it has leaked during the previous print.
In Cura, you can select a so-called Brim instead of a Skirt. This starts printing around the print area just like the skirt, but this time several lines, right up to the first layer of the actual print. The Brim is therefore connected to the 3D model and ensures a high surface with the print bed, which leads to a high print adhesion. This is especially useful for 3D models that are very narrow and have little surface area.
Although this gives a very good print adhesion, this is still rather my last choice. This has the simple reason that the model is thereby connected to the Brim and thus automatically has a change, which must be removed afterwards. Since the Brim is only one layer high, this is usually not a problem, but there is sometimes a small edge that is noticeable depending on the model.
The correct temperature on the print bed
Warping (low temperature)
The temperature on the print bed has several influences. In addition to the complete detachment from the print bed described above, there is also the possibility of warping, which occurs if the temperature is too low. In this case, the difference in temperature between the pressure and the environment is so high that the plastic builds up so much tension that it warps in certain places. In the case of a cube, for example, this does not result in clear corners, on the print bed, because they lift a little.
Foot (high temperature)
After we have experienced so far only disadvantages of a too low temperature of the print bed, one could think I set the temperature as high as possible and the problems are solved. The problems are solved by this, but as so often, other problems arise, including a so-called foot in the first layers of the model. In this case, the temperature in the lower area is so high that the filiament cannot cool down fast enough and still runs soft. This results in a small base or foot at the bottom, which stands out from the upper surface. Therefore, it is always necessary to find a balance in the temperature to avoid the problems.
Removing support structure
Even if the print is successful, there is sometimes work that needs to be done on the 3D model. If you had to use a support structure for your print, this also includes removing it. Unfortunately, there is no real tip for this. However, you should remember two important things.
1. Most mistakes happen before printing.!
Always consider before printing the support structure and in which position the model should be printed, so that the support structure is present as little as possible and can be removed as easily as possible. Especially with angled objects, you should avoid inserting a support structure between the object that you can hardly reach. In addition, one should consider in which density the support structure is necessary. In Cura this can be easily adjusted and you should always look at the print preview to see if a little less support structure is possible. From experience, I can say that it rarely fails because the support structure is too small.
2. Take your time!
Nothing is more annoying than destroying a 10 hour print within 10 seconds due to carelessness with pliers or a knife. Take some time after printing and try to detach the support structure from the object with a cutter knife in some places. Then you can carefully try to remove the support structure with pliers.
If you have any questions, feel free to contact me. If you like my work, feel free to check out my other articles on similar topics.
Schreibe einen Kommentar