
After getting an initial overview of an Arduino in the last article, we now move on to the first practical example. A famous example project is an LED blinking light, which helps to understand the basics of Arduino programming and wiring.
To do the project you will need the following:
- Arduino Uno
- 5V LED
- If necessary jumper cable with Arduino board
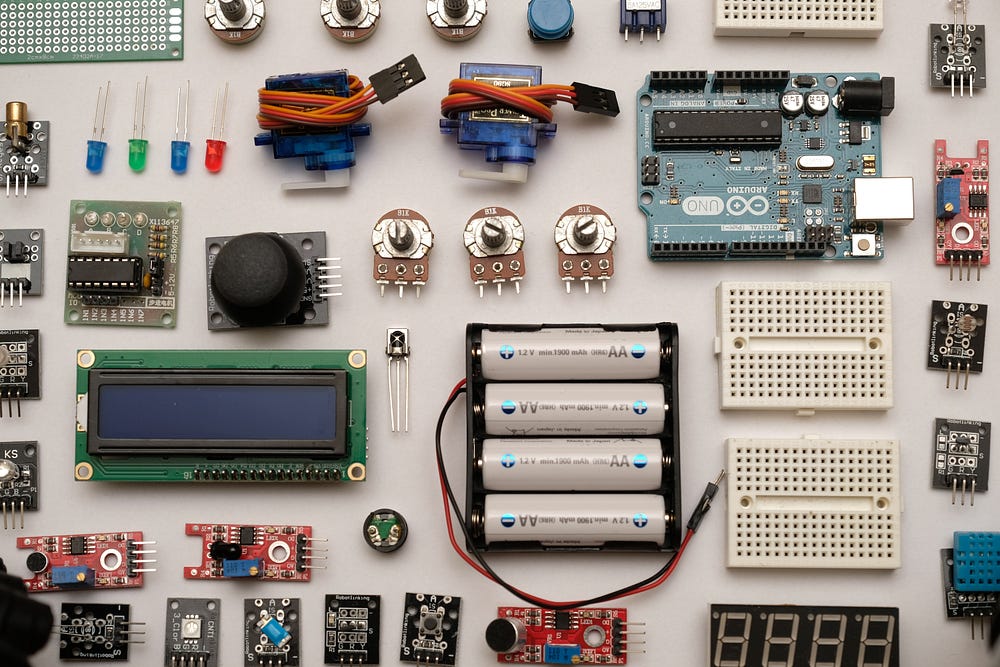
If you plan to learn more about the possibilities of the Arduino, I strongly recommend buying a cheap starter kit. On Amazon, you can buy them for about 30 dollars.
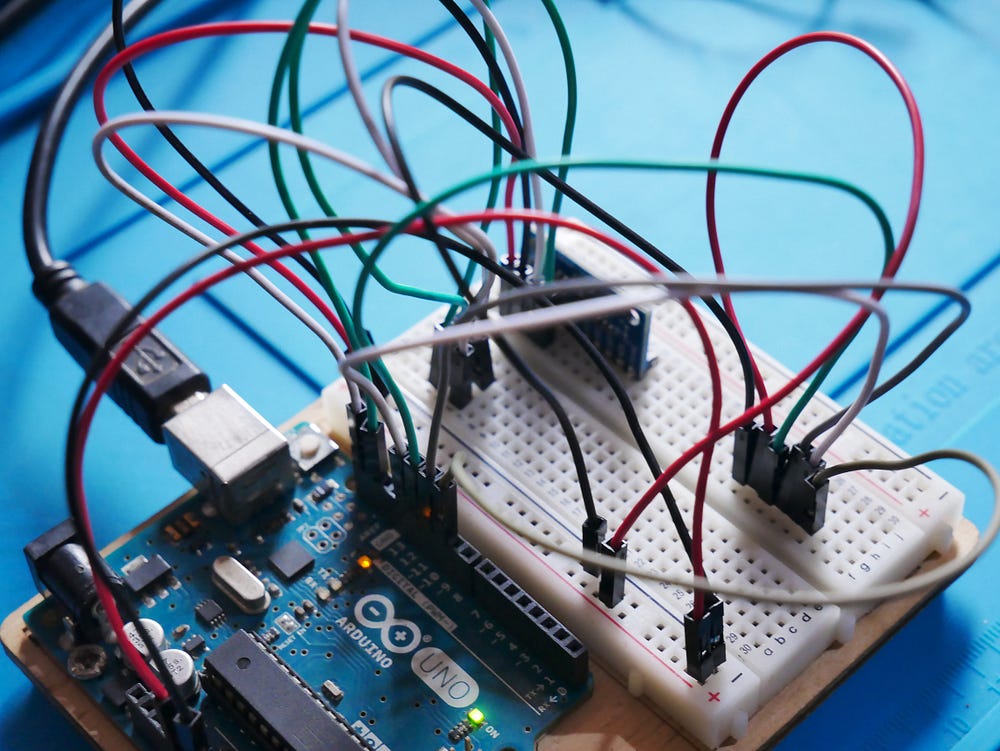
Hardware
In this first project, the wiring is pretty simple, You connect the long side of the LED to the digital pin 13 and the short side of the LED to the ground of the Arduino board.
That’s it for the hardware and we’ll get straight to the software.
Software
Before you start as a reminder again, here the basics of the Arduino software:
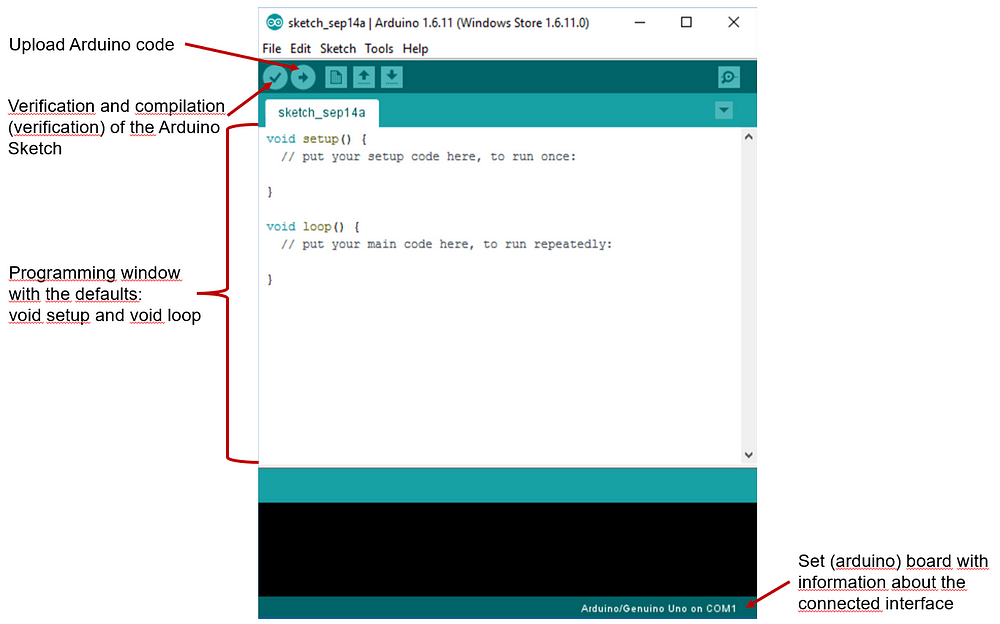
Now follow the steps below:
- Open the Arduino IDE and create a new sketch
- define the used pin as output in the “setup()” function.
pinMode(13, OUTPUT);3. In the “loop()” function, turn on the LED, wait one second, turn it off, and wait one second again. This is done with the following code in the loop() part.
  digitalWrite(ledPin, HIGH); // Switch on LED
  delay(1000); // wait 1 second
  digitalWrite(ledPin, LOW); // switch off LED
  delay(1000); // wait 1 second
4. Compile the code with the hook in the upper left corner to check for errors, and then upload it to the Arduino board. When doing this, you may need to select the correct port that your Arduino is connected to.
5. The connected LED should now blink at regular intervals! If you experiment with the numbers in the “delay()” section of the script, you can customize the blinking.
Below you can copy the whole example script for the LED blinking light project:
void setup() {
  pinMode(ledPin, OUTPUT); // Initialize the pin as output
}

void loop() {
  digitalWrite(ledPin, HIGH); // Switch on LED
  delay(1000); // wait 1 second
  digitalWrite(ledPin, LOW); // switch off LED
  delay(1000); // wait 1 second
}
Congratulations!
You have now completed your first small Arduino project. Feel free to browse through my other projects and follow me to not miss any further projects.
If you have any questions, feel free to contact me. If you like my work, feel free to check out my other articles on similar topics.
Schreibe einen Kommentar